Garages are made specifically to protect our belongings. In fact, the word “garage” comes from the French word “garer,” meaning “to shelter.” You, as a garage owner, know how helpful a garage can be, as your vehicle is protected from outside elements.
You don’t have to deal with your paint peeling because of the sunlight or your vehicle’s metal rusting because of the harsh weather. Instead, your vehicle and many of your belongings remain protected. But this protection would be non-existent without a garage door.
You could be missing out on these garage door features if yours is inoperable. Luckily, this blog post will show you how to install a garage door with ease. Continue reading for the insight you need to ensure your garage can protect your vehicle.

How To Install A Garage Door
Every garage door is different, so instructions may vary. However, as long as you follow this quick guide and the manufacturer’s instructions, you will be ready to install your garage door:
Step One: Gather The Tools/Materials
Before you can start drilling away at your new garage door, you will need the tools to do it properly. First, you will need safety glasses because your protection comes first. You will also need a drill, hammer, open-ended wrench, screwdriver, measuring tape, pliers, and any other tools listed in the manufacturer’s instructions.
Step Two: Measure The Door Opening
Before purchasing your new door, you need to first know what size you need. To find this, measure the width and height of your door’s opening. This will make your new door a perfect fit and not make the whole buying process a waste of time.
Step Three: Install The Track And Spring System
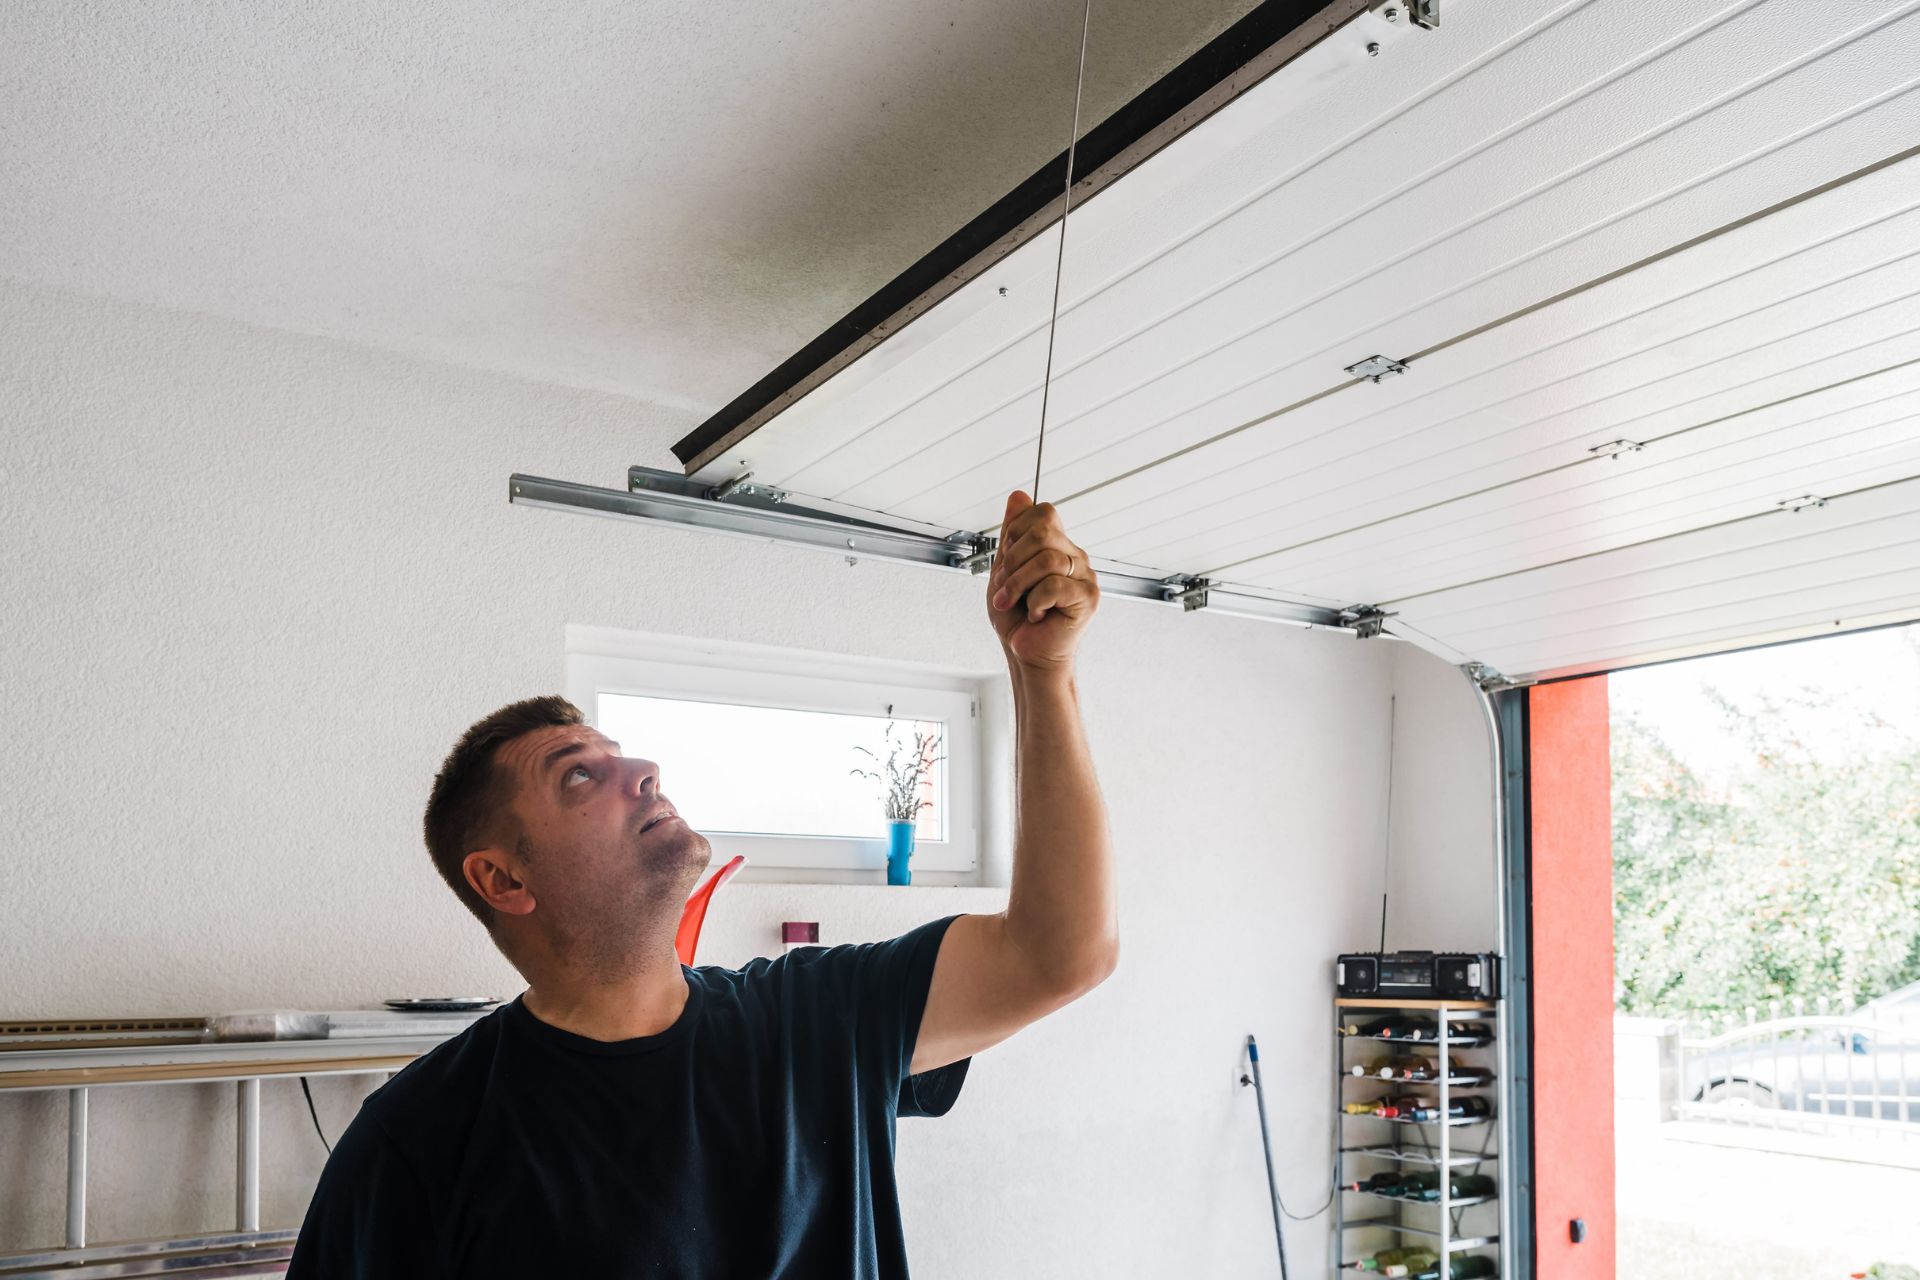
The track is the first part of a garage door that is put together. Attach the track to the garage’s frame, which will allow your door to open and close effortlessly. Most garage doors use a spring system to help lift and lower the door. However, installing this system can be dangerous if you don’t follow the direct instructions, so be sure to follow the manufacturer’s instructions.
Step Four: Attach The Panels And Rollers
You can start attaching the door panels and rollers once the track and spring system are in place. The panels are the durable components of the door that keep your garage closed off and travel along the tracks with ease. This is all possible thanks to the rollers. The panels must be carefully aligned in order for your garage door to operate as smoothly as possible. Once you’ve done this according to the manufacturer’s instructions, you will be ready to install the opener—the key component of this system.
Step Five: Install The Opener And Test It
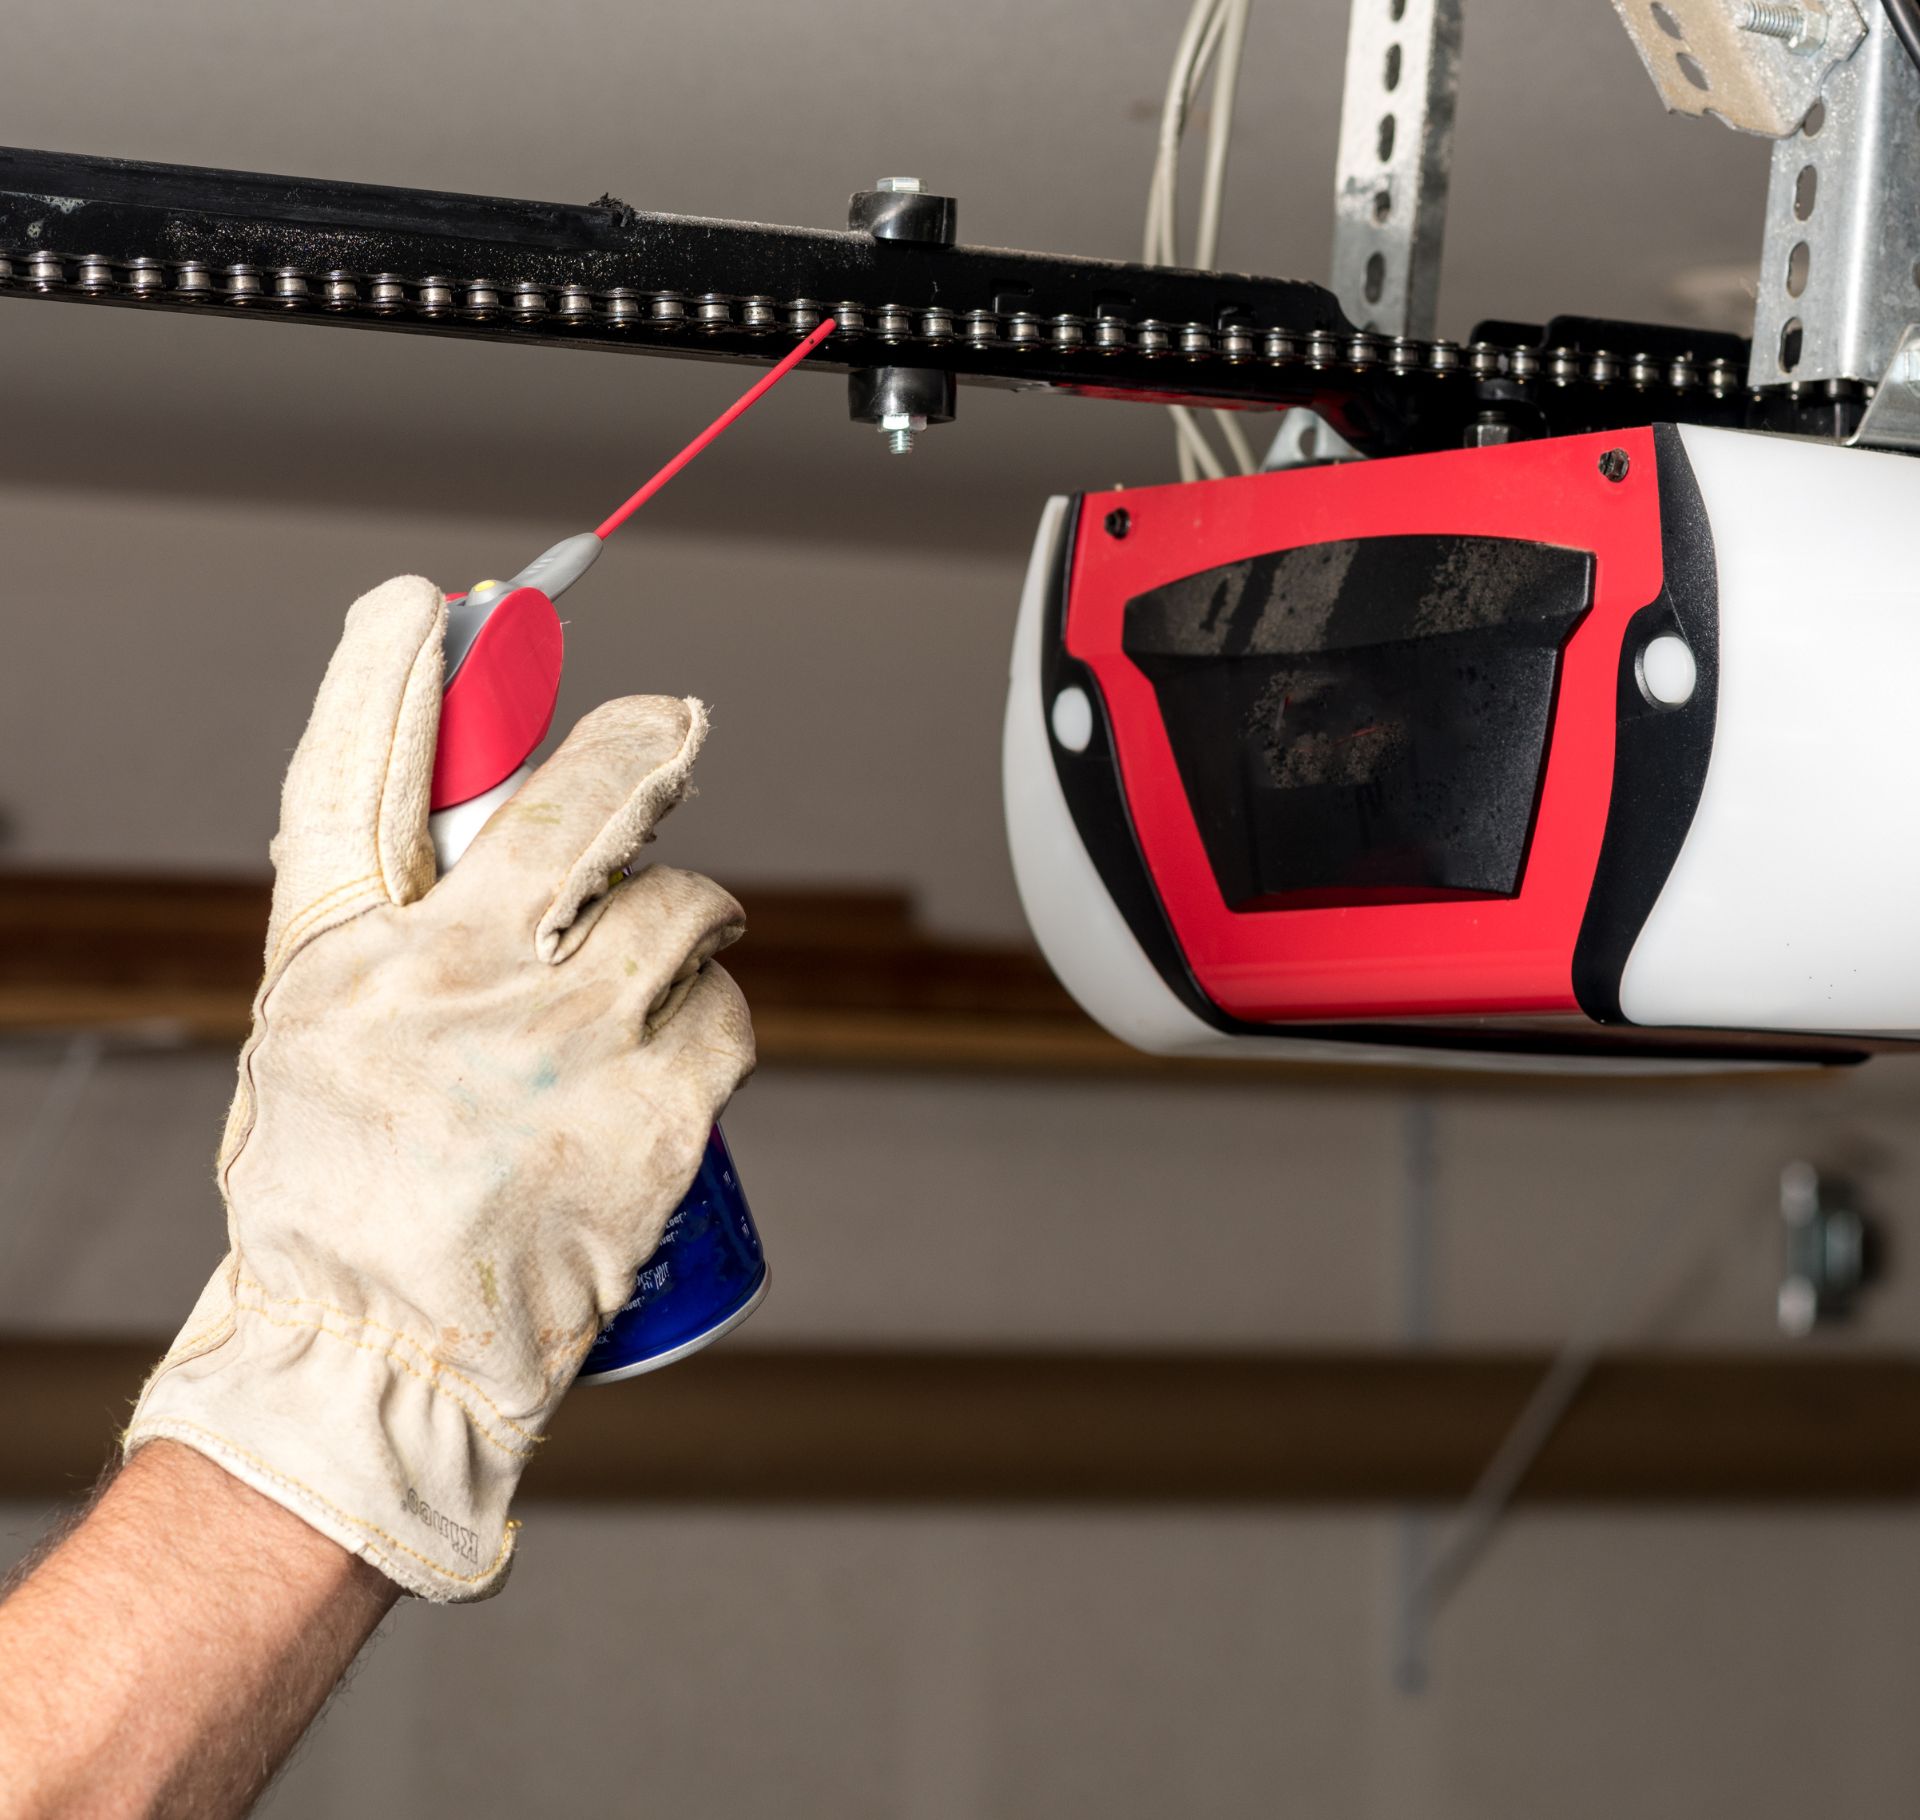
To install the garage door opener, you will need a mounting bracket. Make sure the opener is leveled and securely attached to the bracket, before installing the trolley. The trolley should be connected to the opener and the garage door.
Make sure the trolley moves smoothly along the track and is correctly positioned on the door. Install the safety sensors and connect the wiring to complete the installation of the garage door opener. Once everything is in place, program the remote and test the door to ensure that it works.

Garage Door Repair Houston Can Assist
Now you know the basics of how to install a garage door. This can be a dangerous process, so if you would much rather leave this task to the professionals, Garage Door Repair Houston has the team for you. Our experts are more than capable of handling this essential process for you. With our help, you won’t have to worry about problems arising from poorly installing your garage door. Contact us today to get the help you need as soon as possible.


